10 Quick DIY Home Decor Projects You Can Finish in a Weekend
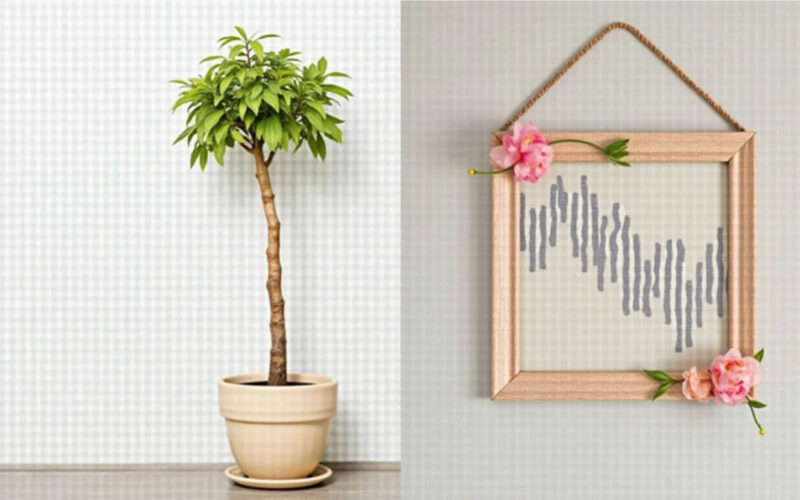
You don’t need a huge budget or months of construction to transform your living space. A single weekend is all it takes to complete high-impact, professional-looking DIY projects that add warmth, texture, and custom style to your home.
Here are 10 quick, beginner-friendly DIY home decor projects you can easily start and finish in two days or less.
1. Create Custom Pinch-Pleated Drapes
Give budget curtain panels (like IKEA linen drapes) a tailored, designer upgrade without touching a sewing machine.
-
The Weekend Project: Attach iron-on drapery header tape to the top back edge of plain curtain panels. Insert metal four-prong drapery pleating hooks to instantly create crisp, custom pinch pleats.
-
Pro Tip: Mount your curtain rod high and wide—just below the ceiling—to visually double your ceiling height.
┌────────────────────────────────────────────────────────────────────────┐
│                        DIY PINCH-PLEATED DRAPES                        │
│                                                                        │
│   1. IRON-ON HEADER TAPE ──► Apply to top back hem of panel            │
│   2. PLEATING HOOKS ───────► Insert 4-prong hooks into tape channels   │
│   3. HIGH MOUNT ───────────► Hang rod 2"–3" below ceiling for height   │
└────────────────────────────────────────────────────────────────────────┘
2. Install Wireless Wall Sconces
Add warm accent lighting to hallways, bedside zones, or dining alcoves without hiring an electrician or cutting into drywall.
-
The Weekend Project: Mount hardwired-style sconce fixtures to the wall using drywall anchors or heavy-duty Command strips. Skip behind-the-wall electrical wiring and insert a remote-controlled, rechargeable LED puck light ( warm light) into the bulb socket.
-
Placement Rule: Position the center of your sconces at eye level ( from the floor) for balanced illumination.
3. Frame Architectural Wall Moulding (Picture Frame Trim)
Transform plain, flat drywall into an elegant, traditional feature wall using lightweight picture frame molding.
-
The Weekend Project: Measure rectangular grid boxes across your target wall. Cut pre-primed polystyrene or wood trim moulding using a hand miter box at angles. Secure the trim to the wall using construction adhesive or small finishing nails, patch the seams, and paint the entire wall in a single cohesive color.
4. Upgrade Cabinet & Furniture Hardware
Replacing mass-market or builder-grade drawer handles is one of the fastest ways to give kitchen cabinets, dressers, or bathroom vanities a custom feel.
-
The Weekend Project: Unscrew existing knobs and pulls. Replace them with solid brushed brass, matte black, or unlacquered copper hardware.
-
Sizing Rule: For standard drawers ( wide), pick pulls that equal roughly of the drawer width.
┌────────────────────────────────────────────────────────────────────────┐
│                        HARDWARE SWAP SELECTION                         │
│                                                                        │
│   STANDARD CABINET DOORS  ───► Single Knob or Vertical Pull            │
│   STANDARD DRAWERS        ───► Single Horizontal Pull (1/3 Width Rule) │
│   WIDE DRAWERS (30"+)     ───► Two Pulls or One Extra-Long Pull        │
└────────────────────────────────────────────────────────────────────────┘
5. Paint a Faux Headboard Arch
If you lack space or a budget for a bulky headboard, use a geometric paint arch to define your sleeping zone.
-
The Weekend Project: Mark the width of your bed frame on the wall. Tie a piece of string to a pencil, tack the other end at the center point, and trace a smooth arch. Use painter’s tape for the straight vertical sides, fill in the arch with a rich, warm accent color (like terracotta, sage, or dark ochre), and let it dry overnight.
6. Build a Floating Gallery Wall Ledge
Display framed photos, art prints, and small books with a slender floating picture ledge that allows you to rotate decor without poking dozens of holes in your wall.
-
The Weekend Project: Secure a pre-cut wooden picture ledge or floating shelf into wall studs using a spirit level. Layer framed prints of varying sizes, slightly overlapping the frames to create depth and visual interest.
7. Apply a Peel-and-Stick Backsplash
Give a tired kitchen or powder room vanity an instant cosmetic refresh with removable 3D adhesive tile.
-
The Weekend Project: Thoroughly clean drywall or existing smooth tile with degreaser. Measure, trim, and apply peel-and-stick gel tiles (such as subway tile, marble herringbone, or Moroccan zellige patterns). Use a utility knife and ruler for clean edges around electrical outlets.
8. Style and Curate Open Bookshelves
Turn chaotic, cluttered built-ins into a sophisticated, designer-curated focal point.
-
The Weekend Project: Empty your shelves completely. Remove paper dust jackets from hardback books to expose rich cloth spines. Arrange book stacks in a diagonal “zig-zag” pattern across shelves, interspersing brass objects, ceramic vases, small framed art, and trailing indoor plants (like a Pothos). Maintain roughly negative space to keep shelves airy.
┌────────────────────────────────────────────────────────────────────────┐
│                        ZIG-ZAG SHELF BALANCE                           │
│                                                                        │
│   TOP SHELF ──────────────► [===] BOOK STACK (LEFT)                    │
│   MIDDLE SHELF ───────────►                       [===] BOOK STACK (R) │
│   BOTTOM SHELF ───────────► [===] BOOK STACK (LEFT)                    │
└────────────────────────────────────────────────────────────────────────┘
9. Create a Layered Rug Entryway / Seating Zone
Instantly anchor a room, hide worn floor patches, and add high-tactile texture by layering area rugs.
-
The Weekend Project: Lay a large, neutral natural-fiber base rug (like an flatweave jute or sisal rug). Top it with a smaller, patterned vintage runner, kilim, or asymmetrical faux hide placed in the center or angled across a seating area. Use double-sided rug tape between layers to keep everything flush and secure underfoot.
10. Frame Large Engine-Print Vintage Art
Obtain high-end, oversized vintage art without paying custom framing gallery prices.
-
The Weekend Project: Download high-resolution, public-domain artwork or digital vintage landscapes online. Print the file as a large “engineering print” or poster at a local print shop for under . Pop the print into a budget poster frame (like IKEA’s LOMVIKEN or target poster frames), and use mat board to give it a custom gallery finish.